")
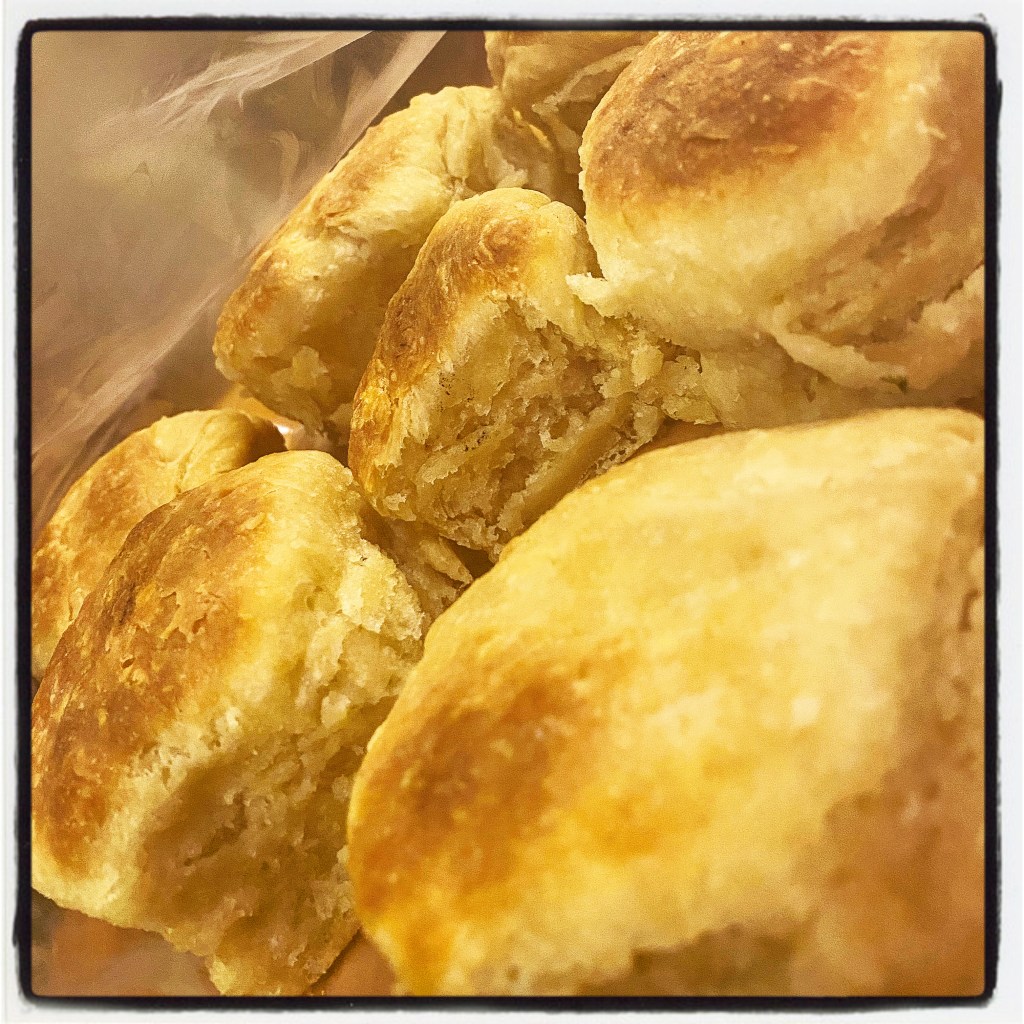
First off, the good news! For anyone who might have worried, my sense of smell has acutally mostly returned – which is AWESOME! It’s especially grand because I am three days away from baking these amazing angel biscuits. Imagine a soft, buttery, perfect lovechild of a yeasted dinner roll and your grandma’s buttermilk biscuits. Yeah. They’re that good.
Freak not that this is a two day process because I promise it is worth it. Not to mention that being able to pull them from the fridge and put them straught in the oven for baking and service literally makes them as simple on the big days as Sister S’s frozen ones (you know the ones I mean!)
Angel Biscuits (adapted from the Stella Parks classic as seen on Serious Eats)
Hardware:
- 1 digital kitchen scale (with readouts to at least 1g increments)
- 1 biscuit cutter/circle cookie cutter/clean jelly jar with a 1/5-2.5″ diameter
- 1 cast iron skillet, well-seasoned
Ingredients:
- 12 ounces/340g all-purpose flour (I’m fond of White Lily brand, but any will do here)
- 1 ounce/30g white sugar
- 1/4 ounce/7g instant dry yeast (NOT RapidRise or active dry yeast)
- 8g kosher salt (my brand is Diamond Crystal)
- 1/2 teaspoon baking soda
- 5 1/4 ounces/145g/1 stick+2Tbsp cold, unsalted butter, cut into 1/2-inch cubes (I cube mine and toss it on a saucer into the freezer while prepping the rest) PLUS a few more Tbsp for brushing later
- 9 ounces/225g very cold milk (any percentage works, I use 1% because it’s in the fridge)
Methodology:
- Whisk the dry ingredients together in a medium sized mixing bowl. If you’re able to have chilled your bowl prior, all the better. (There is rarely room in my fridge for this to happen.)
- Add the cubed, cold butter, smooshing each cube in the flour. Don’t worry about those “pea-sized granules” your grandma swore were necessary. Just make sure every piece gets broken/smooshed and is heavily coated in flour.
- Make a well in the middle and pour in the milk. Mix with a rubber spatula until all of the flour is incorporated and you have a shaggy, sticky mess of dough. Yeah, it looks awful – it’s supposed to. Scrape all of the excess you can off your fingers and the rubber spatula, cover the bowl with plastic wrap, and park it in a quiet, warmish corner of your kitchen to proof. Leave it there for a couple hours or until the dough ball has roughly doubled from it’s original volume/size. (Note: the two hour estimate is assuming you are at standard pressure at 70 degrees Fahrenheit – the colder your kitchen is, the longer this may take.)
- Lightly flour your hands and a cleared surface that is at least 15″ wide. (I really like using a half-sheet pan sized silicone mat for this to help with cleanup.) Gently dump the dough out and smoosh into a rough square shape that is about 1/2-3/4″ thick. Fold the dough in half like a birthday card. Repeat the smoosh and fold maneuever two more times.
- Cut out as many circles of dough as you can and place them in the skillet shoulder-to shoulder. Try and dust as much excess flour off each one as you do. (Note: if you are unsure as to the seasoning goodness on your cast iron, it never hurts to spritz it with a very light coating of cooking spray.) Pat the dough scraps back together to try and cut out a few more rounds. Wad up the rest of the dough and make an ugly, final biscuit with it (I claim this one as my taste-testing biscuit later!)
- Cover the whole skillet tight with aluminum foil and stash it in the fridge overnight. The orignial recipe calls “overnight” 8-12 hours, but I’ve definitely pushed this longer (16ish?) and found very little, if any, decrement.
- When ready to bake, preheat the overn to 400 degrees Fahrenheit and give it a good 45 min to come to temp. (Note: if you don’t have an internal oven thermometer like this one, this is a good reason to invest in one! *Disclosure: I get no financial support from Amazon or this seller* Melt those extra few Tbsp of butter and generously brush the straight-from-the-fridge cold rolls with it.
- Bake for about 20 minutes or until all of the tops are golden brown and delicious-looking. Depending on hot and cool spots in your oven, you may need to rotate the pan a time or two.
- Pull the biscuits and let them stand in the pan at least five minutes before serving. If there is more of that melted butter left, I shamelessly re-brush mine. You can tent them with foil and they’ll keep warm for a good bit nestled in the cast-iron.
- If by some miracle these don’t all get eaten the day of, they keep well in a zip topped bag and just need gentle reheating in the air fryer/toaster oven to revive them.
Cheers!