")
It is no lie that the community viral load this season has hit us all. With small kids and a job in a clinic, I’ve had a target on my back for every bug out there. Up until this last weekend, I’ve made the best of it.
Until Sunday.
Sunday morning, I wasn’t in the mood for coffee. The kids both had cereal for breakfast. So it wasn’ until I was changing the baby’s diaper that I realized: this poop doesn’t stink.
“Maybe I’m just congested,” I assured myself; and I returned to doing all of the things, including pulling out last year’s frozen turkey carcass and chopping a few aromatics to make the Thanksgiving turkey stock. I thought nothing of it initially when I quartered an onion and my eyes didn’t water a bit. It wasn’t until I went outside and clipped some fresh rosemary that I realized, “I can’t smell this.” I rushed back into the house and put the sliced side of the onion directly on my nose:
NOTHING.
I smelled nothing. Not even a hint of onion.
Y’all, I panicked a little. How on God’s green earth am I supposed to cook the Thanksgiving feast in a week if I can’t smell a bloomin’ thing? And furthermore – this is literally my favorite smell season of them ALL.
Three days into not being able to smell, I’m trying to be less melodramatic. I’ve told myself this is an excellent chance for me to lose weight since everything tastes muted and flat. BUt I won’t lie, I’m sad.
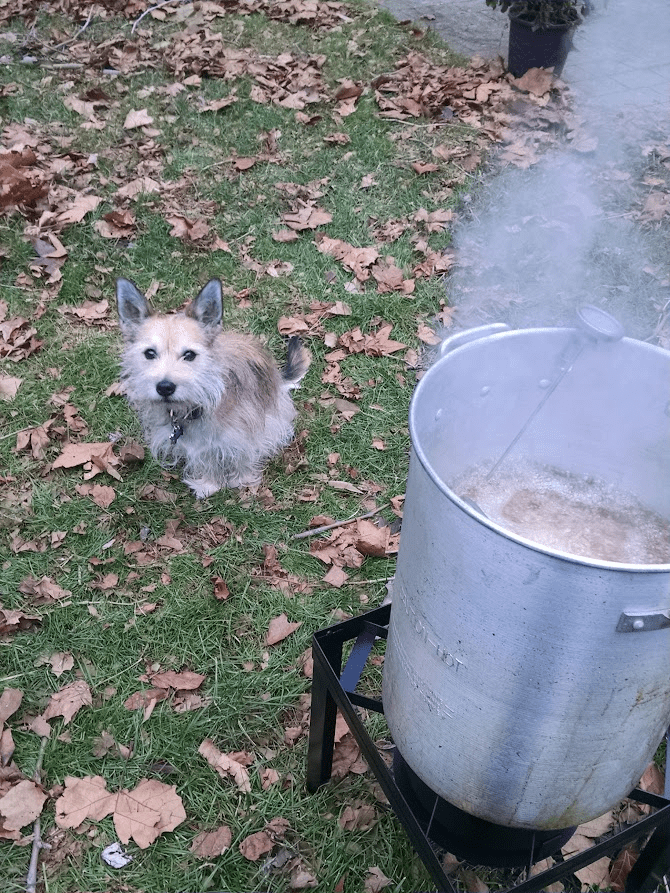
So, y’all need to make some good stock sometime this week because 1.) you’re gonna need plenty of it next week to make all of the Thanksgiving things, and 2.) I want you to stand over that pot and take a big hearty inhale of that boiling, roasty goodness – just for me!
Easy Turkey Stock
Hardware:
1 large stockpot, I use a 10 quart cheap one from the megamart
1 wooden spoon
1 additional large pot or heat proof containing with a wide opening (I like using an extra pot liner from my pressure cooker)
Heat Proof gloves or potholders
1 chamois or mesh strainer
Storage vessel(s)
Optional: large liquid measuring cup with a handle
Optional: fine mesh strainer/cheesecloth
Optional: funnel
Ingredients:
1 turkey carcass, frozen or thawed
1 large onion, quartered (you don’t even have to peel it)
3 sticks of celery, broken
1 large sprig of rosemary, ~8″, broken
2 Tbsp whole black peppercorns
Option: light soy sauce *See note
Methodology:
1. Literally dump the turkey carcass, veg, herb and seasonings into the pot and cover with cold water. It doesn’t need to be filtered water. If the water out of your tap is decent enough to drink, it’s good enough here. If you are not lucky enough to have a pot filler on your cooktop (I’m not), be careful – the pot will be heavy when full.
2. Put the pot on the cooktop and turn the burner to high. Once at a rolling boil, reduce to a moderate simmer (definite movement of the liquid but not aggressive bubbling). Jab at the contents with your wooden spoon once in a while to make sure everyone in the pool is getting a good bath. Skim off any sludgy foam that forms on tomp between stirrings and trash it. It’s no bueno. Continue this process on repeat for about 2-3 hours or until the stock starts to take on a nice color and AH-mazing aroma.
3. Taste your stock (careful, it’s hot!) every once in a while. The seasoning level is going to vary greatly depending on what your turkey carcass was originally seasoned with, how it was cooked, and how picked-clean the bones were. If you’re a couple hours in and there’s a noticeable lack of wanted saltiness, splash in some soy sauce, stir, and continue simmering. I promise – it’s not going to come out tasting like Chinese food.
* Note: I aggressively season with a cajun-spiked rub and we fry our Thanksgiving turkey, so my carcass maintains enough that I usually don’t need the addition of any further salt/umami. You’ve just gotta measure off of what you want/need/have.
4. Once at the desired taste and consistency, turn off the stove and leave it alone for at least 30 min. Again, hot and heavy. Set up your straining station. It’s not a bad idea to put down a towel on the counter for unexpected splashes or spills. Have the chinois/strainer set in/over the additional vessel.
5. If you are physically able, you can just pick up the whole dang stock pot with your hand protection and start to gently pour into the strainer. If you are not, in fact, the incredible hulk of the culinary world, I would recommend using the measuring cup to start scooping out the hot broth to pour through the strainer into the awaiting vessel. Once it’s difficult to get more out with the cup, the pot should be easy enough to lift and por. Be mindful that like your overhead baggage in flight, those bones and veg are liable to slip and slide at you in unpredictable ways as you pour. If this is problematic, you can start to remove them with tongs to throw away as you get every last drop of liquid you can.
6. If you want a rustic stock (read: with larger and more particulate matter floating in it), you could stop here and put in your storage vessels of choice. If you’re looking for a more refined product, you can do additional staining(s) with a fine mesh strainer and/or cheesecloth. For storage, I like 1 quart heavy glass milk bottles, so a funnel is very useful for filling purposes.
7. Get the packaged stock to the refrigerator in a timely manner. Even if you’re intending to freeze all of your stock (which I recommend doing if you’re not using within the week of making it – I use disposable plastic 1 and 2 pint containers), cooling it completely first will help your containers not warp or over expand as they freeze. This stuff is basically immortal in the freezer – though mine never lasts much past Christmas. It takes doing, but it really makes a lot of difference in the flavors you’ll develop in your holiday food!
Cheers!